
This document describes how to configure live data recording from an ATLAS Data Server after the very first installation of ATLAS 10. This is required in order to view live telemetry data. This guide assumes ATLAS 9 is already configured and functioning for live telemetry so only describes the new steps specific to ATLAS 10.
Configure SQLite as the live session cache
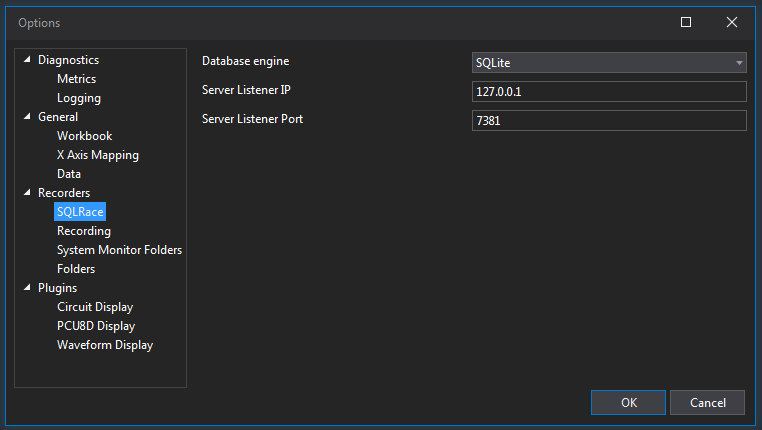
Open Tools|Options|Recorders|SQLRace and set Database engine to SQLite. Leave other choices as default.
Configure the PUL File location (if RDA or RDA2 is in use)
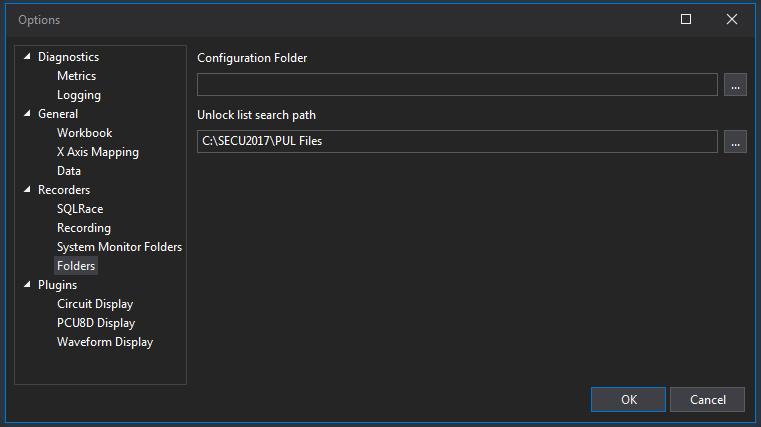
Open Tools|Options|Recorders|Folders. Enter the required directory path to the PUL files in the Unlock list search path field. You can tell whether this is required if in ATLAS 9 there is something entered in Tools|Options|System Monitor Folders|Parameter Unlock List Path field. You can copy the path from ATLAS 9 into the Unlock list search path field in ATLAS 10.
Select the SQLite Live Session Cache
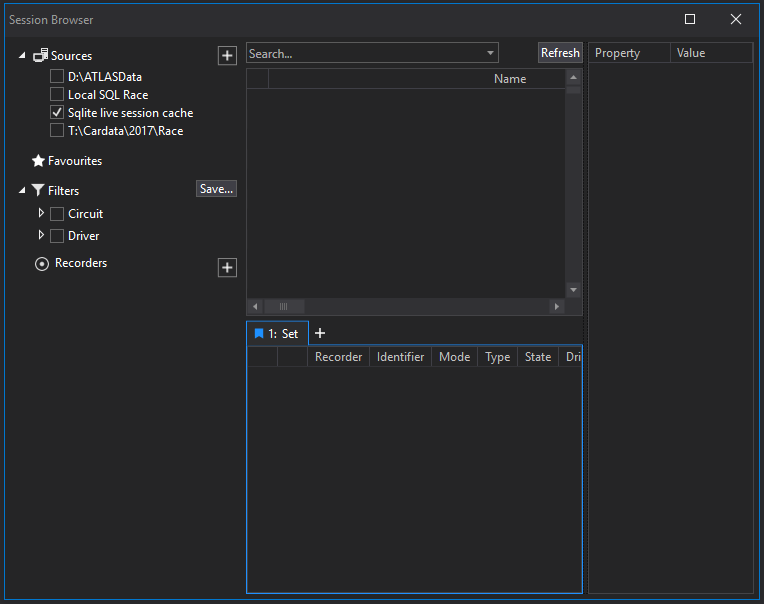
Open View|Session Browser. Tick the checkbox next to Sqlite live session cache.
Add a Recorder
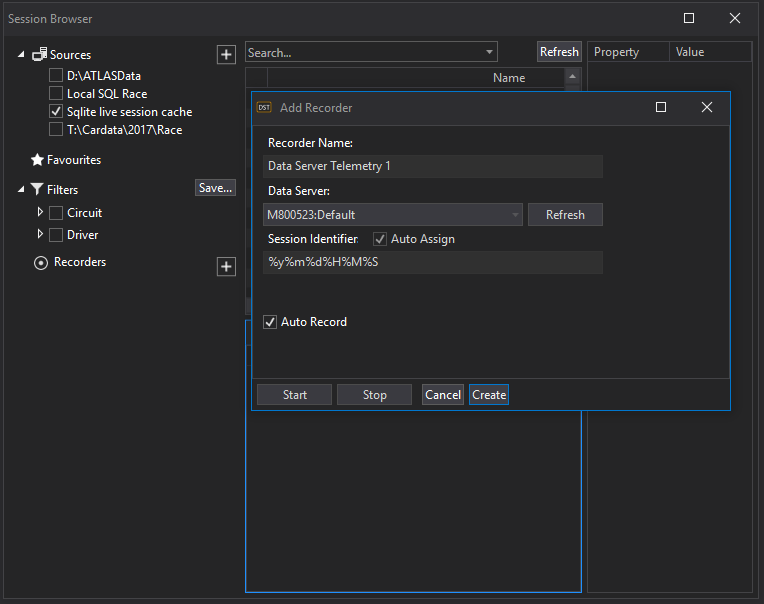
Open View|Session Browser. Press the + button next to Recorders and select Data Server Telemetry. Use the Refresh button to show the available data servers and select the one you are interested in. Configure the rest of the recorder pane as follows:
- Session Identifier: leave as default or select Auto Assign to inherit the session identifier from the ADS (requires version 9.66 or above)
- Auto Record: ticked
Then press the Create button.
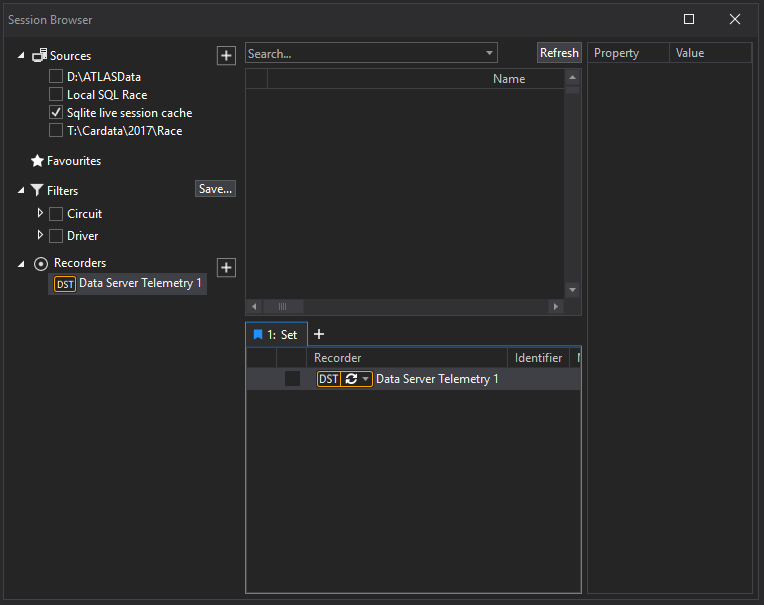
The Data Server Telemetry 1 will appear in the Recorders section. To assign the recorder to a set, left-click and drag the Data Server Telemetry 1 recorder into the 1: Set pane so it looks like this:
Next Steps and Troubleshooting
This should be sufficient to get recording from a single data server and the next time telemetry starts, displays attached to the set should start to scroll. To add another car, repeat the Add a Recorder step and select a different Set and Color.
If it does not work, ensure that on the same PC ATLAS 9 is able to display live data. You may need to copy settings from ATLAS 9 Tools|Options|System Monitor Folders to ATLAS 10 Tools|Options|Recorders|System Monitor Folders if they are not the same. It may also be necessary to enter the data server IP addresses or hostnames in Tools|Options|Recorders|Recording|Data Servers as a comma separated list with no spaces. If the PC has multiple network cards it may be necessary to select one from the Tools|Options|Recorders|Recording|Wide Band local address or if one is already selected, go back to the Any setting.
ATLAS 10 does not read the ATLAS 9 .INI file. If there are settings required for recording set in the ATLAS 9 .INI file which override those set in the A9 options dialogs or registry heierachy these will need to be set explicitly in ATLAS 10.
In all other instances, please contact your MAT Track Support Engineer for assistance.
Comments
0 comments
Please sign in to leave a comment.